Migrating Projects
- All Users
- Developers
- Services
- Community
- Legal
Register a new project
Select a neighborhood, which fits best for your project and click on "Register a new project".
Select the tool SVN.
SVN import
As a prerequisit, you need to have CODESYS SVN installed.
Visit the SVN tool (usually called "Code") on your newly creates project. Then right click on the link "Browse" and copy this link. You can use this link later in CODESYS SVN.
Open your library or project file in CODESYS. Click on "Project -> SVN -> Import Project" and import the project to a sub-folder of the repository which you just created.
You should use the following folder structure:
- branches/
- tags/
- trunk/
- PackageName/
- LibraryName/
- PackageName/
Create package
To make your code browsable and create a CODESYS package, that the user can easily install, you should use the tool cforge.
Checkout using cforge
Visit the SVN tool of your project again. Click on the "Checkout" button.
Create a package manifest
- Right click on the folder, which contains the files of your package
- Click on cforge -> Create Package
Build package
Export library as markdown code, and build the package with cforge.
- Right click on the package folder
- Click on cforge -> Build
The result might look like this:
- branches/
- tags/
- trunk/
- PackageName.package
- PackageName/
- package.manifest
- LibraryName.library
- LibraryName.plcopen.xml
- LibraryName.md
- LibraryName/
- ...
Commit new files
Use Tortoise SVN to add the package and mark down files and commit them.
Add download link
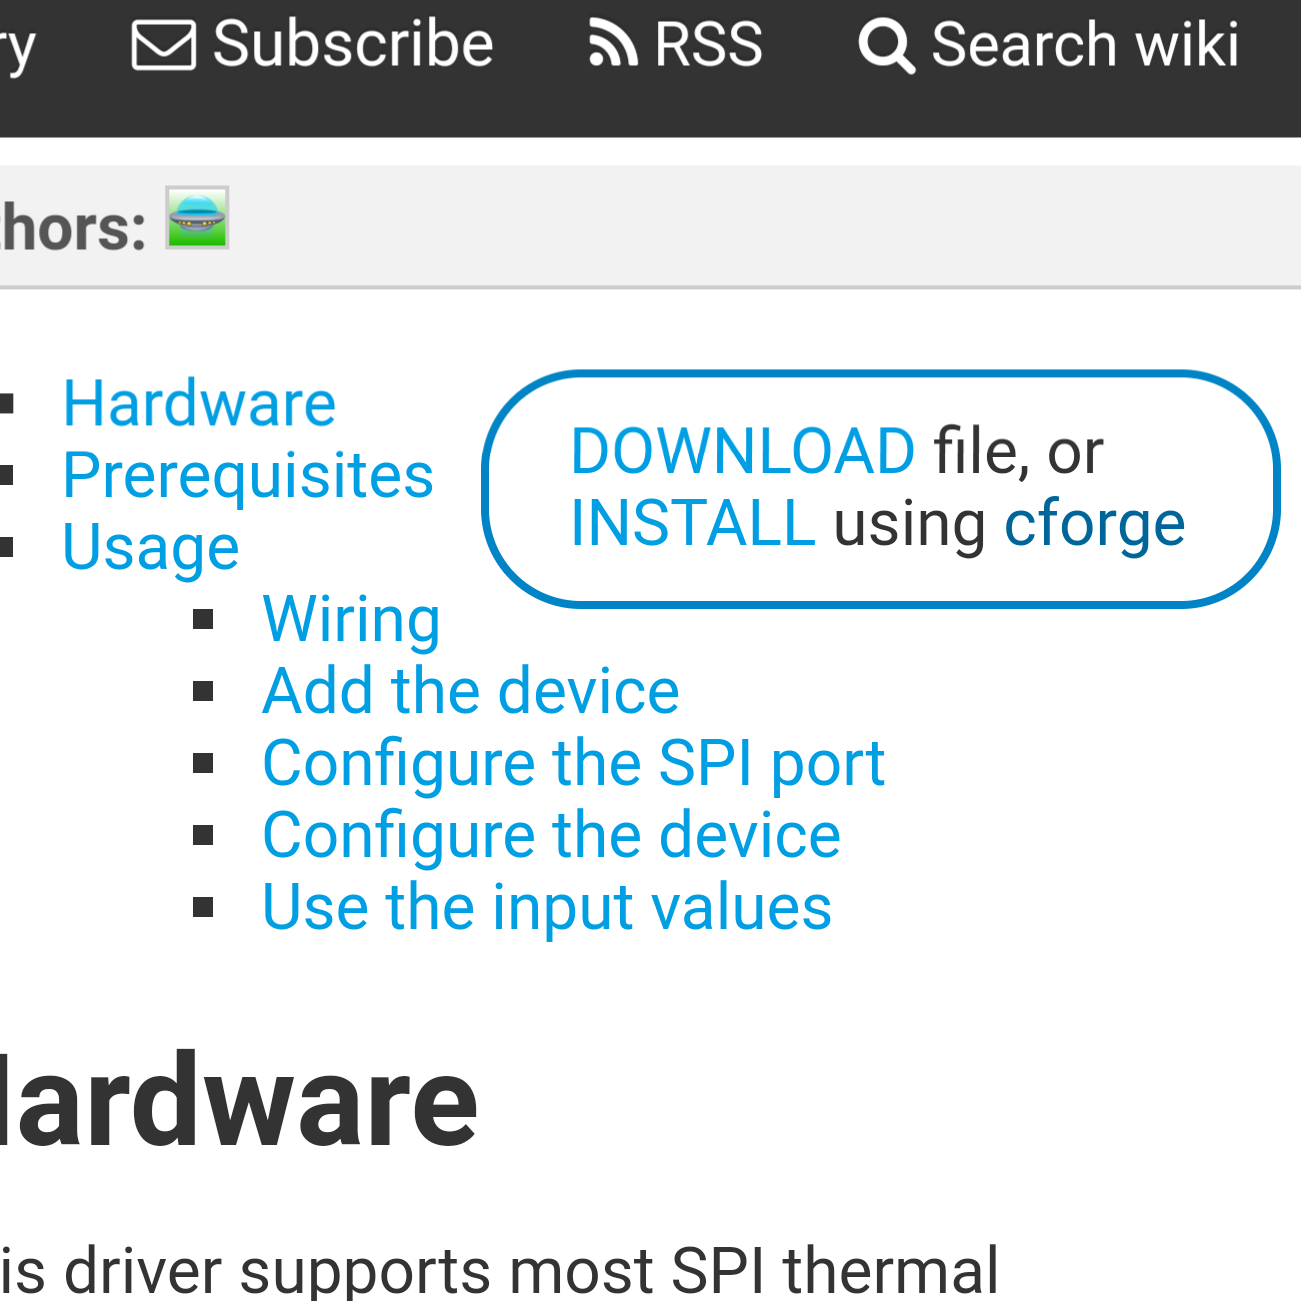
You can add a nice download link for your package to your wiki or blog.
Copy Download Link
Visit the SVN tool of your project and click on "Browse". Browse to the *.package file and right click on it to copy the link.
Add Link
- Visit your blog or wiki
- Edit the page
- Add the link like that...
[[download url=https://forge.codesys.com/svn/...]]
Result